Showing posts with label comfort food. Show all posts

Sunday, January 1, 2012

Rustic Meatballs


I love meatballs. My grandmother, who wasn't Italian, used to make some really great meatballs. Unfortunately she passed away and I never got the recipe. I have attempted to duplicate her recipe and I think they came out pretty close.   I'm calling them "rustic" meatballs because of the rough chops of the garlic and onions, and also because they're not perfectly uniform and round.  I set out to make them this way  - so they not only match the texture and flavor of the meatballs she used to make .. but they match in appearance as well.   Full recipe posted below.


The meatballs are surprisingly easy to prepare -- basically just throw everything into a bowl and mix with your hands - sometimes it can be kind of fun to get your hands dirty.

The cast of characters includes ground beef, pork, and veal. To that I added some seasonings (salt, pepper, parsley, and Italian seasoning), some bread crumbs, and a rough chop of garlic.   I used eggs and a bit of milk as the liquid ingredients.


Note, I didn't forget the onions - they're a key ingredient in these meatballs!  I was afraid the onions would not get soft enough if I added them raw, so I rough chopped them and I sauteed them for a bit to soften them up.  Once they were softened up, I let them cool for a bit in the fridge before I added them to the meatball mixture.


Once the onions are cooled, add them to the meatball mixture and get your hands in there and mix, mix, mix!
Work all the ingredients together until it resembles this:

You'll note that the onions don't seem to be mixed that well and, well, you're right. I may have used a bit too many onions but I wanted to ensure that each meatball had some onion-y goodness in it. It's okay if not all the onions get incorporated into the mixture.

Next -- get out a pan and heat it up to medium (I used the same pan that I sauteed the onions in).   Start rolling the meatballs and adding them to the pan. Note: do not over fill the pan, you'll need room to maneuver and flip the meatballs to get them browned on all sides.

I average about 12-13 meatballs in the frying pan and I have a decently big frying pan.   Turn each meatball around so that each side gets browned.

Take them out when they are done and repeat until all the remaining meatballs are browned.

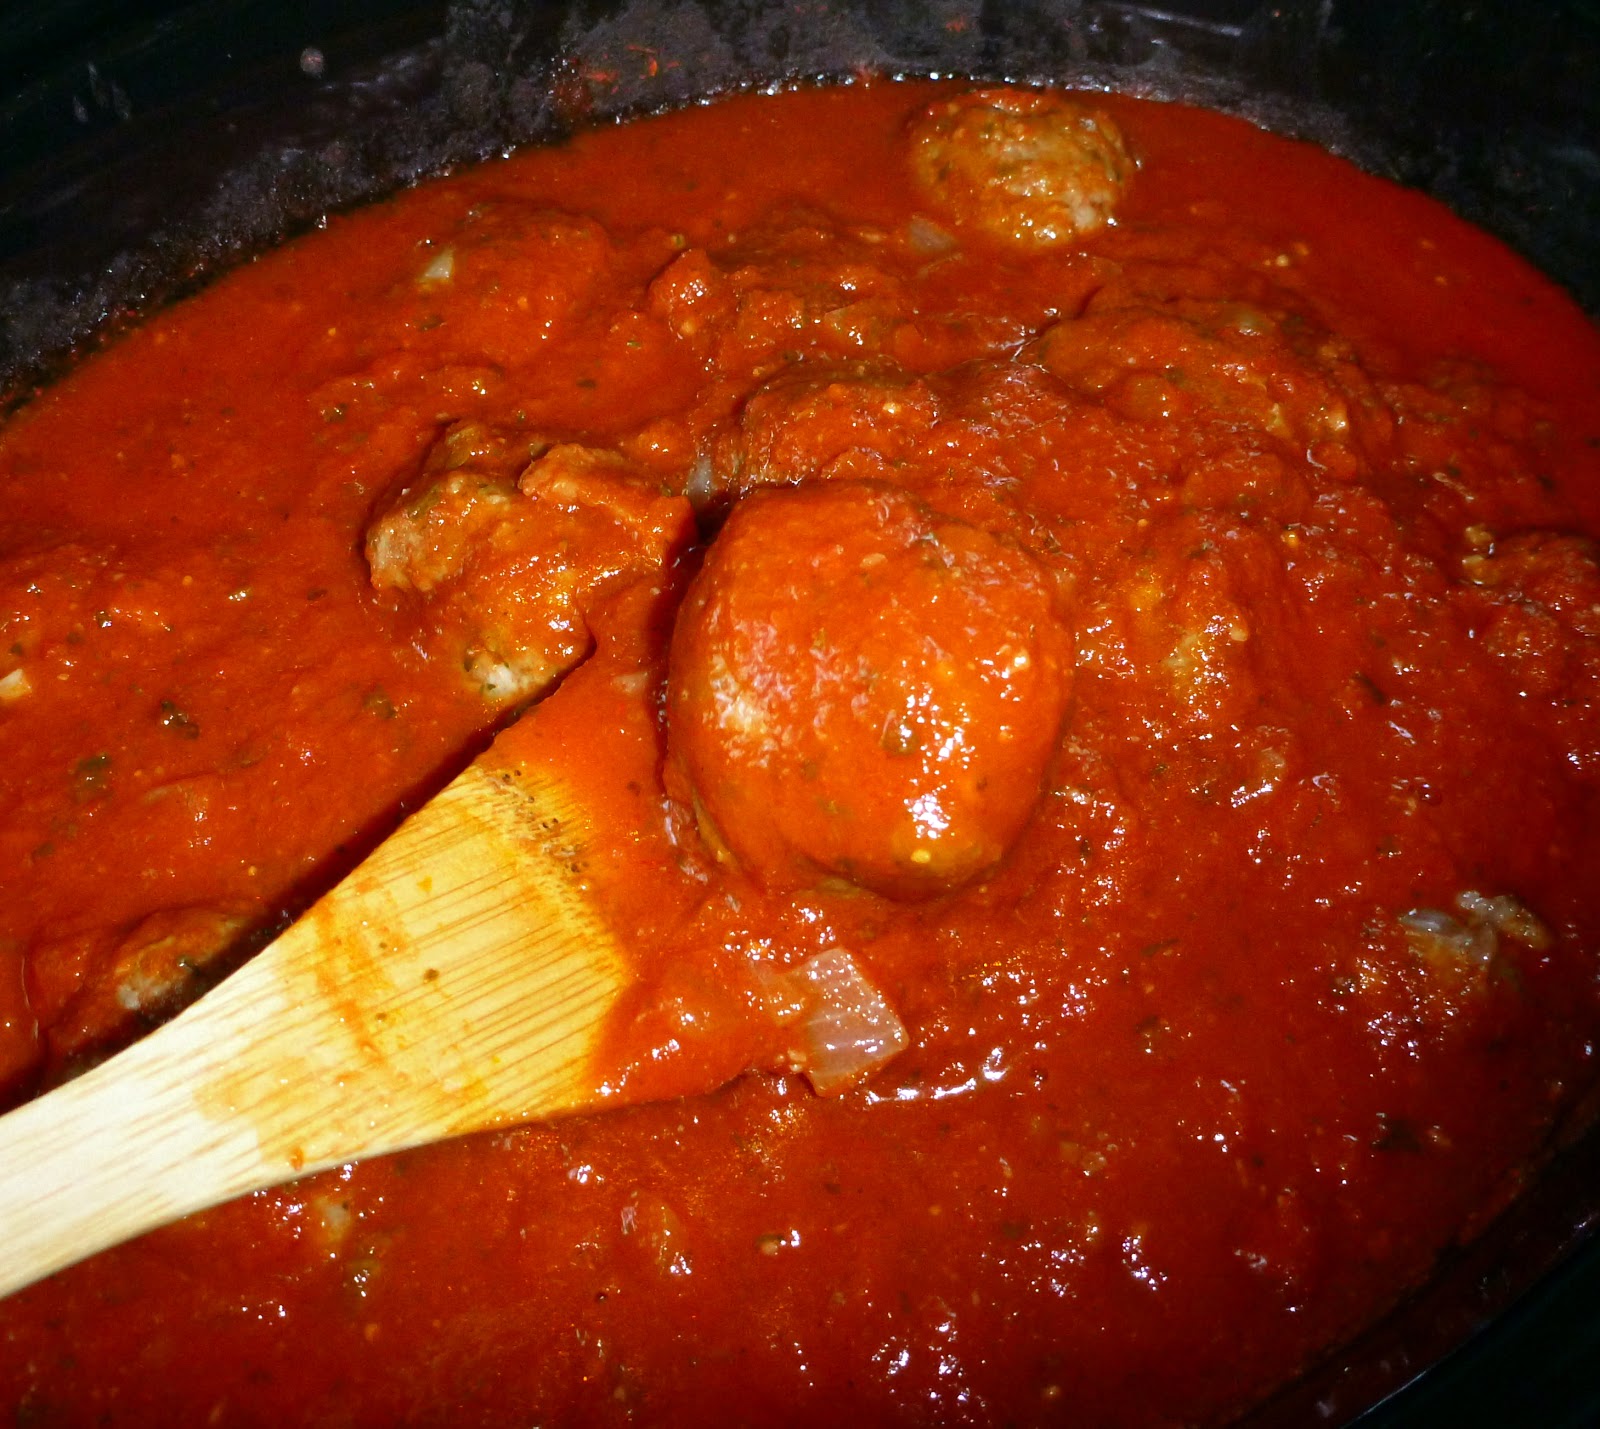
Now your options are to either throw them into a crock pot filled with sauce and cook until they are done, or you can bake them in the oven for about 30 minutes.  If you really want to go nuts, make your own sauce and let the meatballs cook and simmer in there.


Ingredients - Yield 40 "medium" sized meatballs

1.5 pounds ground beef (85% fat)
.75 pound ground pork
.75 pound ground veal
3 large eggs
6-8 cloves garlic, roughly chopped
2 medium onions, roughly chopped
2 tbsp parsley
2 tbsp Italian seasoning
1 tsp salt
1 tsp black pepper
2 cups bread crumbs (I used Italian seasoned crumbs)
1/4 cup milk

Crock pot method - you'll need 3 jars of sauce. I use a mixture of tomato/basil and marinara.

*****
Instructions


If baking the meatballs, preheat the oven to 350 degrees.
If using a crock pot, add 3 jars of sauce to a crock pot and turn it on high.

Saute the onions until soft, cool and set aside.

In a large bowl, combine the meat, eggs, bread crumbs, parsley, Italian seasoning, garlic, milk, salt, and pepper.  Mix it all together with your hands. Get dirty!    Add in the cooled onions and mix some more.

Form into balls 1.5-2" in diameter and add to a frying pan.  Brown on all sides, and then remove from pan.  Repeat until all meat mixture is used up and you have browned all the meatballs.

If using a crock pot, simply place the meatballs into the sauce and keep in on high until the meatballs are cooked through - approximately 3 hours.

If baking, add to preheated oven and bake for 30 minutes. (less time if you're making smaller meatballs, longer if you are making larger meatballs).

That's it, Enjoy!

Saturday, September 3, 2011

Easy Cornbread Mini Muffins


So we're having this big Labor Day BBQ tomorrow (50+ people, yikes!) and I am making a ton of BBQ chicken and pulled pork .... I needed something to go with it. I decided to make cornbread mini muffins. Good idea, right? Well to be honest the only cornbread I'd ever attempted was Jiffy mix cornbread and , well, I'm sure you can guess the outcome of that.

Blech.

So I wanted an easy, homemade cornbread recipe -- made into mini muffins so I wouldn't have a gigantic mess from people cutting pieces out of a cornbread loaf. Plus I thought they'd look cute in baskets lined with red/white checked napkins.

Easy Buttermilk Cornbread Mini Muffins
Makes 48 mini muffins


2 cups all purpose flour
2 cups yellow cornmeal
1/2 cup granulated sugar
1/2 tsp salt
1/2 tsp baking soda
1 tbsp baking powder
1/2 cup canola oil
2 eggs, beaten
2 cups buttermilk

Instructions
Preheat your oven to 375 degrees.
Next, get our your mini muffin pans. You'll need two pans (24 mini-muffins each). I used one light colored, and 1 dark colored and they both came out the same. Well, maybe the dark colored one came out slightly more browned on the bottom but the taste was nonetheless the same. Use whatever pans you have, don't stress!

OK spray the muffin tins pretty well with cooking spray. I used olive oil spray but you could use any type you have on hand. If you don't have any cooking spray, use a pastry brush with some melted butter in each tin. If you don't have butter, put some canola oil on a paper towel and rub it in the tins. If you don't have any oil, well, then you probably need to head to the grocery store.

OK pans all lubed up. Now, in a decent size mixing bowl, add in the dry ingredients + the sugar. Stir it all up or sift it so it's nicely combined.  In another (smaller) bowl, add in the buttermilk, beaten eggs, and oil. Mix that up a bit. Pour it into the dry ingredient bowl and mix it good. No need for an electric mixer here, a wooden spoon works best.

Scoop the batter into the muffin tins until it's just under "full". If you have a cookie scoop, your life will be much easier. If you don't have a cookie scoop, don't fret, it'll just be a bit messier for you.  Ok once the muffin tins are full, give them a shake against your counter to settle the batter.

Pop them in the 375 degree oven for 10 minutes.  They're done when a toothpick inserted into the center of the mini muffin comes out clean.

If you want to make regular muffins, you can do that too. Bake for 16-18 minutes depending on muffin size. Rely on the toothpick check to tell when they are done.

That's it. Now, take them out of the oven and let them sit for a few minutes so you don't burn your hands (we all know what that's like). After a few minutes have gone by, take them out of the muffin tins and put them on a cooling rack. Resist the urge to eat them (actually grab some butter, slather it on and enjoy one... nobody will know).

Serve warm or room temperature.

If storing, cool them completely put in an airtight container or wrap tightly with plastic wrap.

Enjoy!


Sunday, January 10, 2010

Lighten up your Chicken Pot Pie!

I have not ever heard of a person that does not love chicken pot pie. It's comfort food at it's finest. We decided to make chicken pot pie the other day and every recipe I found had either light cream, half & half, whole milk, or condensed mushroom soup in it. I thought there has to be a way to lighten up chicken pot pie a bit.

So I set off to device a lower in fat and calorie chicken pot pie recipe that still tasted good. Turns out it was pretty easy! My basic substitutions were to eliminate the bottom crust, and to substitute skim/nonfat milk for the cream/half & half. I don't use any soup mix at all. The result? A pie that was so amazing, I literally could not tell that it was a healthier version.

So, I get that even my lighter version is still not the pinnacle of heath (I wouldn't eat it while on my diet) but for a "cheat day" or day when you want to splurge a bit, why not try my lower-fat chicken pot pie?


Katie's Lower-Fat-But-Still-Delicious Chicken Pot Pie
serves 4-6

Ingredients
1 pound of chicken breast, boneless, skinless, cut into cubes
1 bag of frozen vegetables (any kind you like, really) - I use a blend of peas, carrots, lima beans (or whatever's in the freezer)
1/2 cup (approx) celery -cut up into small pieces
1/4 cup butter
1/2 cup chopped onion
1/3 cup all purpose flour
salt and pepper to taste
2 cups (16 oz) chicken broth or turkey broth or vegetable broth (I prefer the low sodium kind)
1 cup skim/nonfat milk
1 ready made pie crust


Directions
Preheat the oven to 425

In a medium to large sauce pan add the chicken, frozen vegetables, celery, and enough water to cover it and boil it for 15 minutes.
Remove from heat, drain and set aside.
Same pan, medium heat, add in butter and onions and cook until they are soft.
Stir in flour, cook until flour is mixed in - maybe a minute or so.
Slowly add in the chicken broth (or veg broth or turkey broth) and milk. Simmer on medium-low until thick.
Season to taste with salt and pepper.
Pour the chicken & vegetables into the pie pan. Pour hot liquid mixture over the veg/meat mixture.
Cover with the pie crust, seal it, and cut a few slits to vent it.

Bake 30-35 minutes
Cool 10 minutes before serving.

Variations: Use turkey instead of chicken. Use really any kind of frozen vegetables. Add mushrooms. Whatever you do, it'll likely be delicious!


Nutrition Info:

6 Servings, Amount Per Serving

Calories - 339.5
Total Fat - 15.8 g
Saturated Fat - 7.4 g
Polyunsaturated Fat -1.5 g
Monounsaturated Fat - 5.5 g
Cholesterol - 66.7 mg
Sodium 612.7 mg
Potassium - 438.1 mg
Total Carbohydrate- 26.2 g
Dietary Fiber - 2.7 g
Sugars - 4.9 g
Protein - 22.8 g

Posted by Picasa